

A Complete Guide to the Micropile Drilling Method
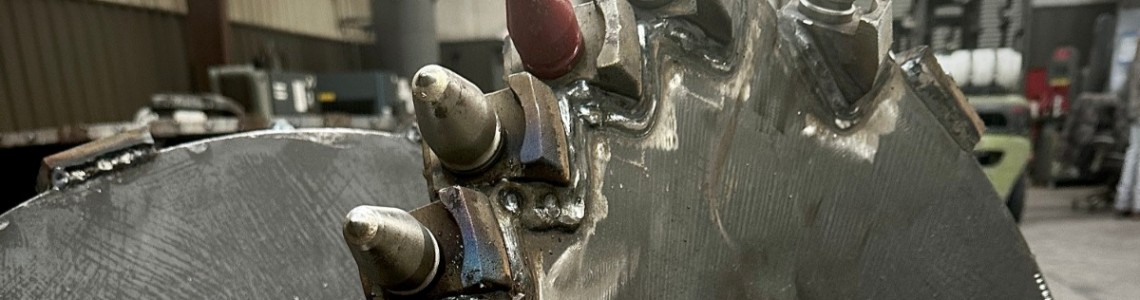
Contractors often rely on micropiles when a project calls for deep support, but the site restricts access or limits headroom. In these situations, traditional foundation systems can introduce unnecessary disruption. Here’s a complete guide to the micropile drilling method that helps crews understand how drilling and grouting come together to transfer loads into stronger ground.
When the process stays controlled and the tooling performs as expected, micropiles can support both new construction and structural upgrades with consistent results.
What Micropile Drilling Does
Micropile drilling forms small-diameter deep foundation elements that carry structural loads through weaker soils and into more stable layers below. The process begins with drilling a narrow bore to a specified depth. Once the bore reaches its target, crews install steel reinforcement and introduce grout to create a bonded structural unit. This combination allows the micropile to handle different types of loading based on the design requirements.
One of the main advantages of micropiles lies in their adaptability. They require less working space than larger systems, which makes them suitable for confined areas. Crews can operate compact rigs in dense urban environments or inside existing structures without major disruption. This flexibility also helps when vibration must stay low, since micropile installation avoids the impact forces associated with driven piles.
When Micropiles Make the Most Sense
Micropiles become a practical solution when surface soils lack strength but deeper layers offer reliable support. They also fit projects where overhead clearance limits equipment size. In retrofit scenarios, crews often install micropiles alongside existing foundations to improve capacity or reduce settlement concerns. Because the equipment footprint remains small, contractors can address structural issues without dismantling surrounding work.
Projects near slopes or retaining systems often benefit from micropiles as well. Ground movement in these areas can create instability, and a well-designed micropile system helps transfer loads more effectively. In seismic regions, micropiles can strengthen foundations by extending load paths deeper into stable material.
How the Micropile Installation Process Works
Installation starts with careful planning. Crews position the rig, verify alignment, and begin drilling with tooling suited to the ground conditions. Once the bore reaches the required depth, they confirm that it meets design expectations. This early verification helps prevent issues later in the process.
After drilling, reinforcement goes into place. Depending on the design, this may involve a steel bar or casing. Grout then fills the space around the reinforcement, bonding it to the surrounding ground. As the grout sets, the micropile develops its load-bearing capacity. A connection detail or pile cap links the finished element to the structure above.
Why Each Step Affects the Next
Each stage of installation builds on the previous one. If the bore drifts out of alignment, reinforcement placement becomes more difficult. Loose material left in the hole can also interfere with grout bonding. These issues can reduce the effectiveness of the finished micropile. Experienced crews focus on drilling accuracy because it sets the foundation for everything that follows.
Drilling Methods Used for Micropiles
Different ground conditions call for different drilling approaches. Rotary drilling works well in stable soils where the bore can remain open. In less stable ground, casing may be necessary to support the hole during advancement.
Mixed ground presents a unique challenge. Tools must transition between soil types without losing control or efficiency. If the chosen method cannot handle these changes, production slows, and bore quality may suffer. A thorough review before mobilization helps crews select a method that can manage the most demanding conditions on site.
Tooling Selection for Micropile Drilling
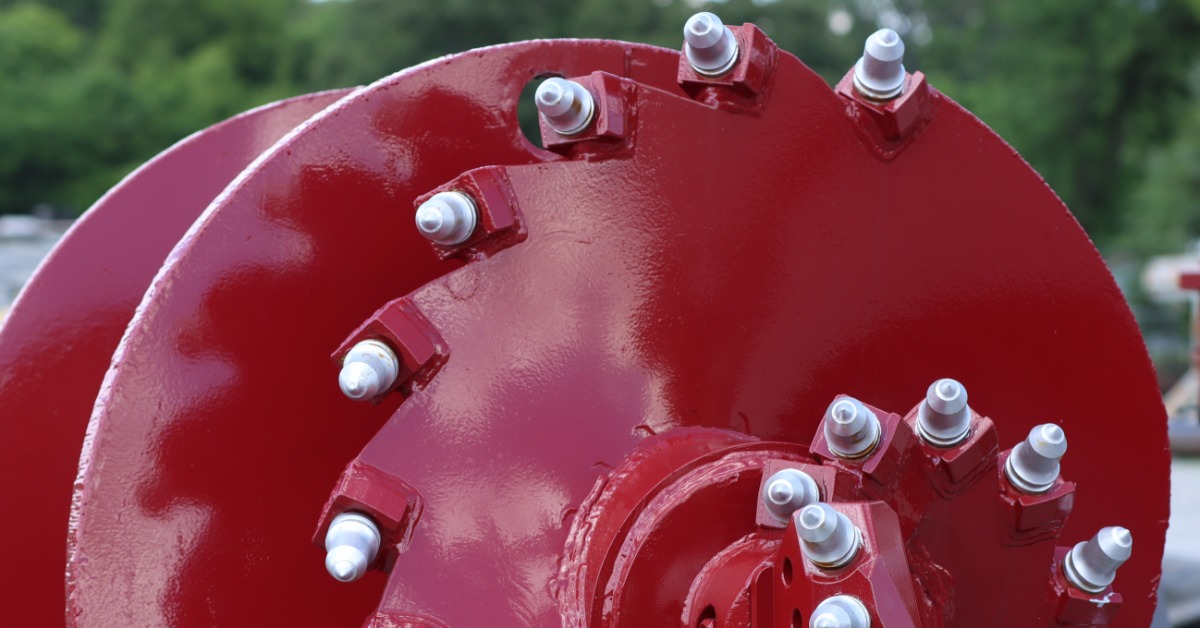
Tooling plays a central role in micropile drilling performance. The right drill bit allows the crew to cut efficiently while maintaining control. Casing tools help stabilize the bore when loose material threatens to collapse. Grouting equipment must also perform reliably to ensure proper placement.
In micropile work, dependable tools help maintain alignment and reduce wear-related delays. When equipment performs consistently, crews can focus on execution rather than troubleshooting.
Match the Tool to the Ground
Ground conditions influence every tooling decision. Softer soils may allow faster drilling but can introduce stability concerns. Meanwhile, dense material requires stronger cutting performance to maintain progress. Rock, on the other hand, demands tools that can cut cleanly without excessive wear. Matching the tool to the ground helps maintain control and improves overall efficiency.
Grouting and Reinforcement Control
Grouting forms the bond between the micropile and the surrounding ground. Poor placement can lead to voids or weak connections, which affect performance. Crews must follow the specified mix and placement procedures to ensure the bore fills properly. This step directly influences the strength of the finished element.
Reinforcement placement also requires attention. Steel must fit the bore correctly and remain in position during grouting. If it shifts or does not align with the design, the micropile may not perform as intended.
Common Challenges Crews Should Expect
Micropile drilling often takes place in environments that already present challenges. Limited access can slow setup, while low headroom restricts equipment choices.
Use this checklist before mobilization to reduce avoidable delays:
- Confirm headroom and rig access before equipment arrives.
- Review the expected ground profile with the drilling crew.
- Choose tooling that can handle the hardest likely layer.
- Plan casing needs before unstable ground interrupts drilling.
- Verify grout equipment and reinforcement fit before drilling starts.
- Stage wear parts close enough to prevent long stoppages.
Taking time to prepare helps crews avoid disruptions once work begins. A clear plan allows supervisors to confirm that equipment and materials all align with project needs.
Quality Control During Micropile Installation
Quality control begins with alignment. Each micropile must reach its intended position to perform correctly. Crews must monitor drilling depth and bore condition before moving forward with reinforcement and grouting. Tracking grout volume also provides insight into what is happening below the surface.
Accurate records help support this process. Documentation should capture drilling details, tooling changes, and any unusual ground behavior. These records help teams understand installation conditions and improve future work. Clear documentation also provides confidence that the installed micropiles meet design expectations.
Get Support for Micropile Drilling Work
The micropile drilling method demands equipment that performs reliably under challenging conditions. Crews need tools that maintain accuracy even when access is limited or ground resistance changes. It reduces downtime caused by wear and supports consistent bore quality. When contractors align their tooling choices with site conditions, micropile installation becomes more predictable.
Jeffrey Machine offers customizable auger flighting tools that are precisely designed for your project, helping crews maintain control when ground conditions and access constraints make drilling more demanding. When your project requires drilling through changing soil profiles or working in confined areas, tailored tooling helps the crew stay consistent from setup through completion. Contact us today, and we will provide a solution built around your equipment and project requirements.